Adding Tiles to the Office365 Waffle
-
 Nigel Browne
 - Apr 29, 2017

Waffles. Little circles and squares of golden deliciousness smothered in maple syrupy goodness. This isn’t about those. Recently, we wanted to improve the experience of our new intranet and Office365 by adding a new tile to the Office365 app launcher, which is affectionately known as “the waffle”.
What is the Waffle and What Does it Do?
Before explaining how it’s done, the terminology (while delicious sounding) can be a stumbling point for folks that aren’t familiar with it. It’s officially called the Office365 app launcher, but most folks refer to it as “the waffle”. In the context of Office365, the waffle is the icon found in the top left of the screen that’s used to quickly access the other Office365 applications.
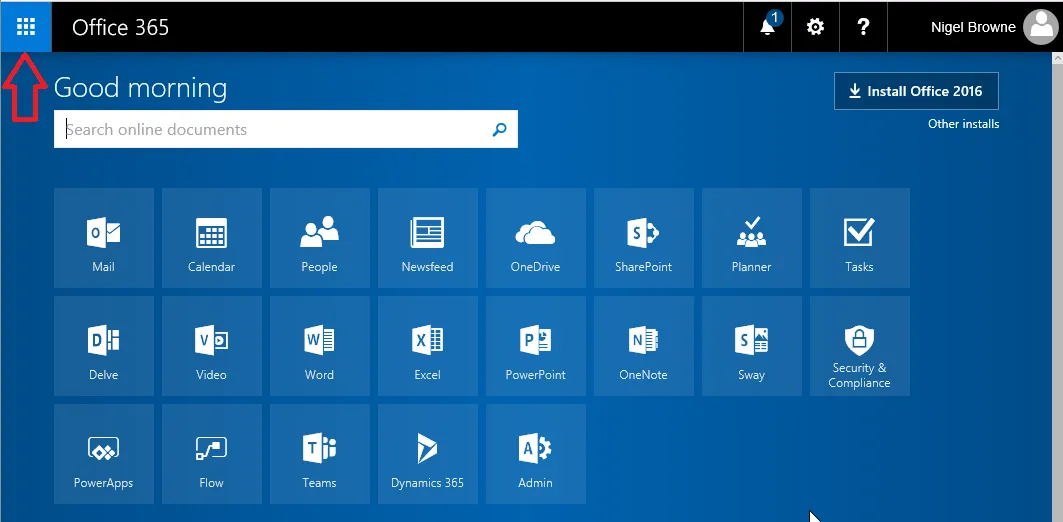
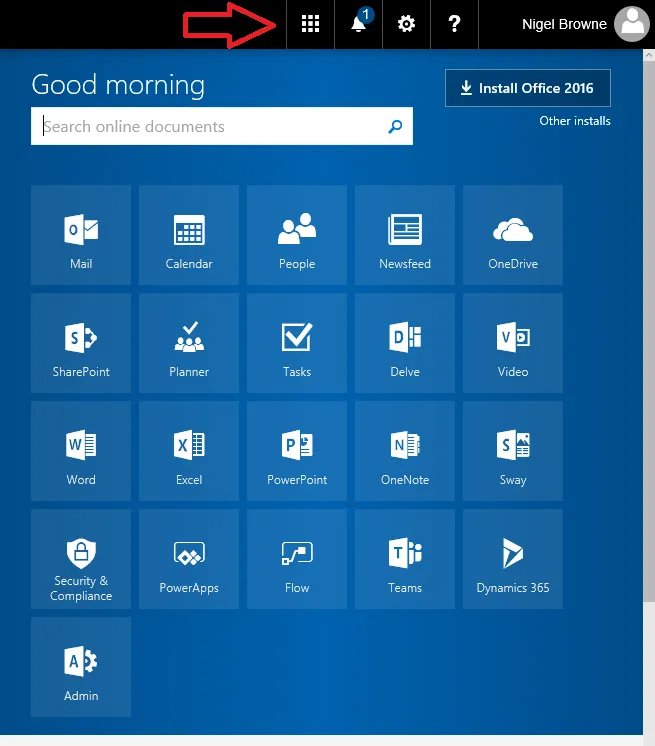
If you’re working with Office365 on a smaller screen, the location of the waffle shifts to the right side of the top navigation bar. On mobile devices, it is moved into the menu accessed by the ellipse (…) icon.
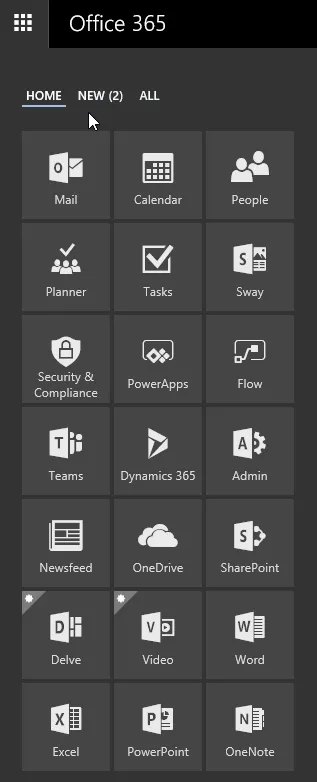
When you click on the waffle, it expands to show you tiles in the app launcher. The tiles represent other application in the Office365 suite and custom actions that you can click on to quickly access.
Add an Item to the App Launcher Waffle
Adding a custom tile to the app launcher is easy, but you’ll need administrator access and you’ll want to have the tile image created ahead of time.
-
Sign-in to Office365, for example using https://portal.office.com
-
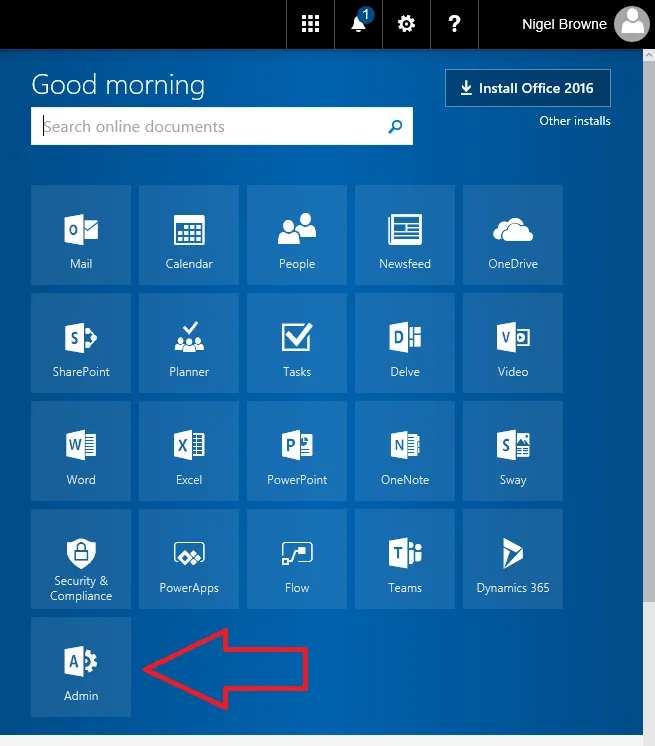
Click on the “Admin” tile to access the Office Admin Center (you’ll need the appropriate rights to be able to do this).
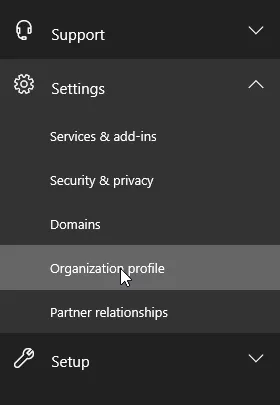
- Expand the “Settings” menu and click on the “Organization profile” item.
- Scroll down to the “Add custom tiles for your organization” section of the Organization Profile and click on the “Edit” button to add, edit or delete custom tiles for your organization.

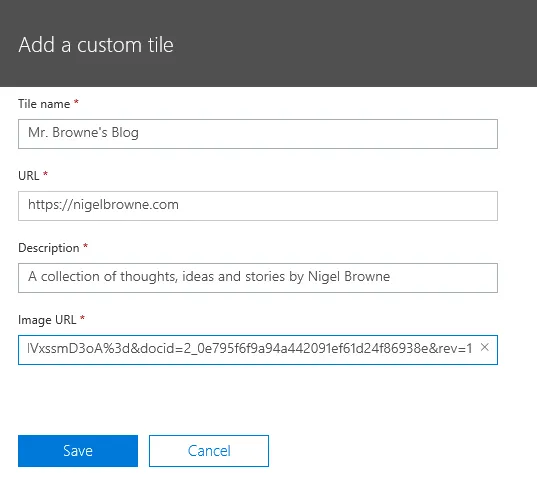
- Fill out the form with the details for the new custom tile and then click the “Save” button. There are four required fields, which are:
-
Tile Name: This is what is shown under the icon in the app launcher.
-
URL: The link to navigate to when the tile is clicked.
-
Description: Extra information that describes what the tile does.
-
Image URL: The path to the icon or image to display on the tile.
-
In my example, I created an icon with MetroStudio with a white foreground and a transparent background. I then uploaded it to my SharePoint tenant and created a view-only link to it.
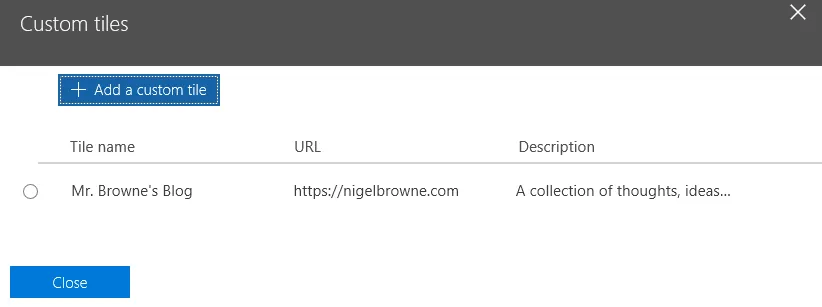
- Once you have saved the details for the new custom tile, you’ll see it in the list of all custom tiles for your organization.
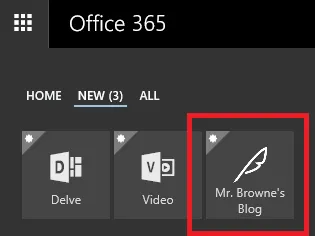
- It can take some time for the changes to be propagated across your Office365 tenant. Eventually, you’ll see your new option in the Waffle under the “New” tab and “All” tabs.
Pin to Home
Now that you have a shiny new custom tile for launching your app, it would be great to add it to the “Home” app launcher tab, right? I thought so too! Unfortunately, for right now, it’s something each user must update themselves. I’ve checked the PowerShell documents, the Graph API reference and asked a couple of MVPs about it, and the answer’s the same.
We ended up documenting the process and providing it to our users, but we really would like to be able to set it globally.